macOS Mail.app
You need macOS 10.14 (Mojave) or newer which supports Modern Authentication. 10.13 (High Sierra) or before must be upgraded. Some of the screen examples below may differ depending on the version of macOS.
- Please refer to “How to check your Primary Mail Address” and make a note of your Kyushu University Primary Mail Address in advance. There are many inquiries about error messages cause by mistakes such as forgetting to include “@m” or “@s” to your email address. Be sure to check your email address without relying on your memory.
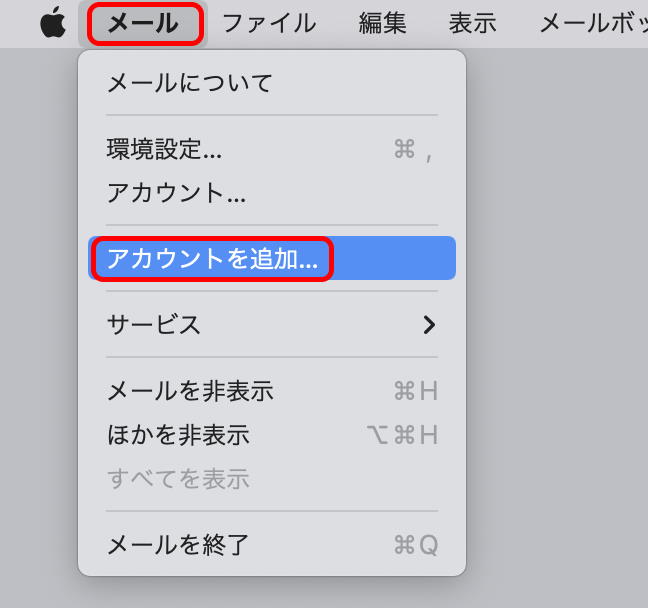
- Launch Mail. Click “Mail” > “Add Account”
- Under “Choose a Mail account provider”, select “Microsoft Exchange” (or “Exchange” depending on the version of macOS) and click “Continue”.

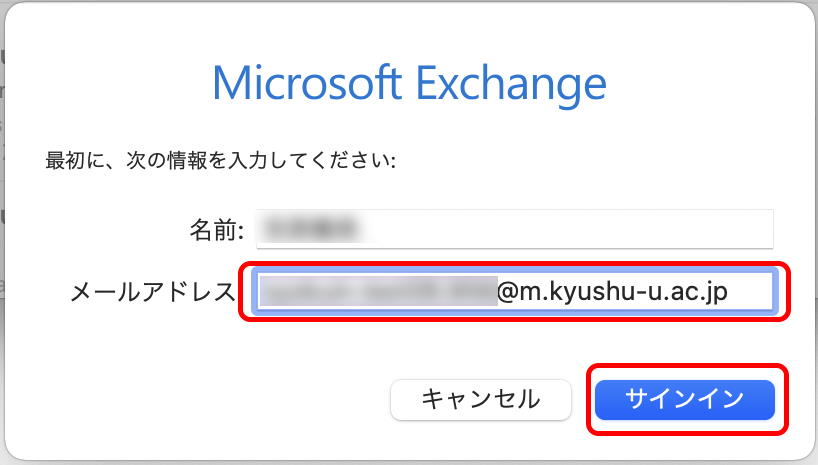
- Enter your Primary Mail Address you noted in step 0, and click “Sign In”
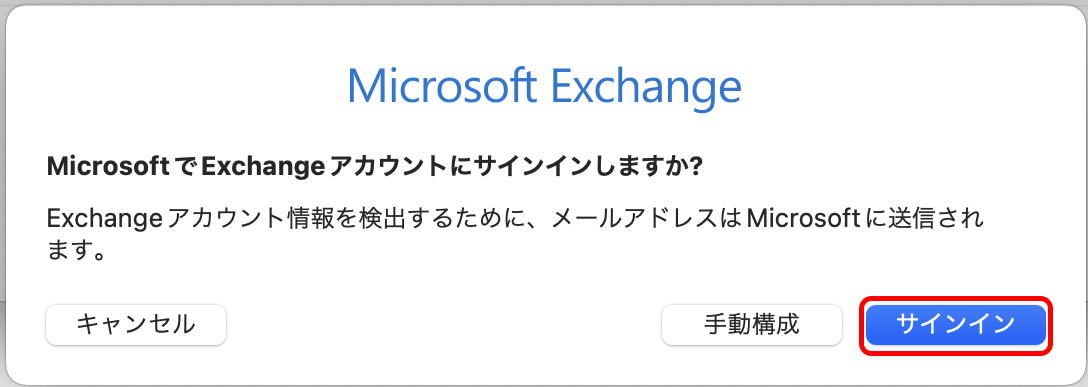
- Click “Sign In” again. The account information should be automatically detected.
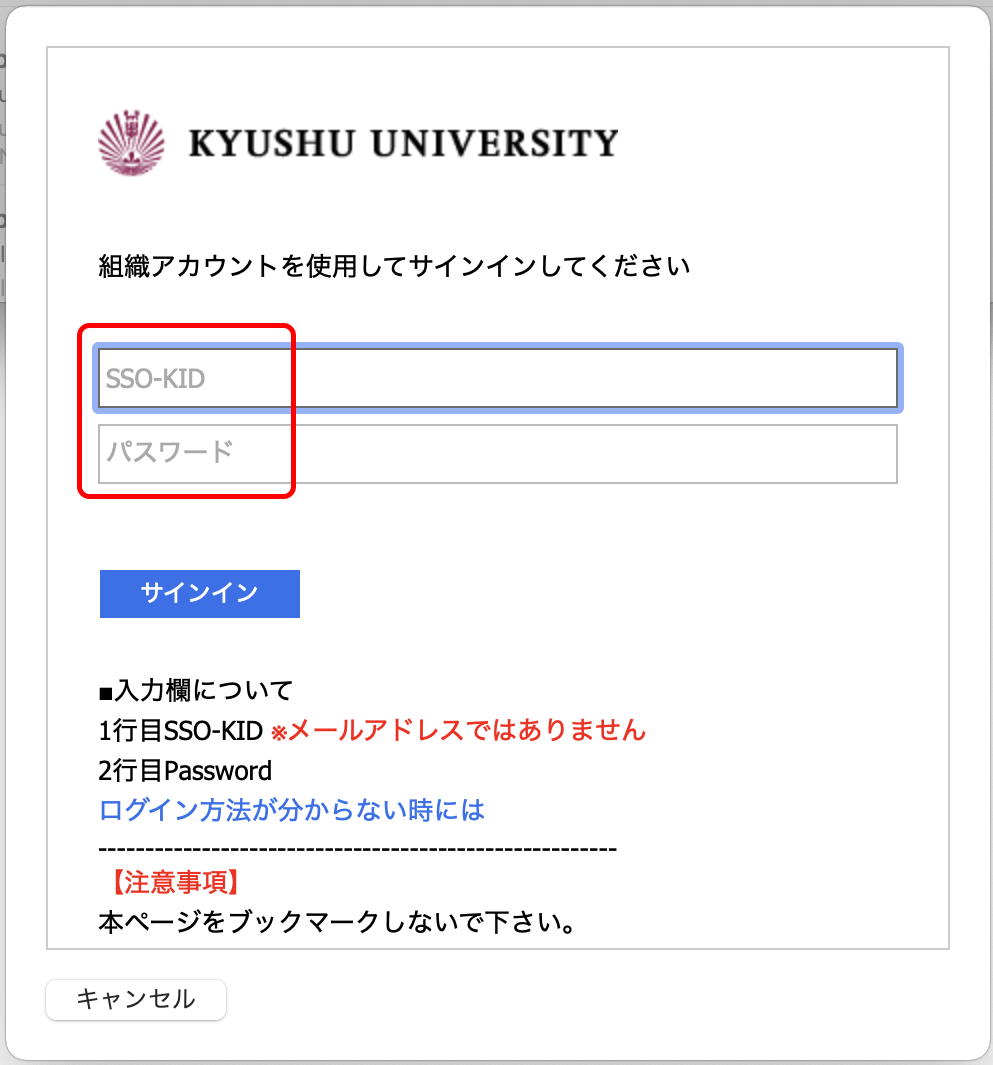
- Enter your SSO-KID and that password, and click “Sign in”.
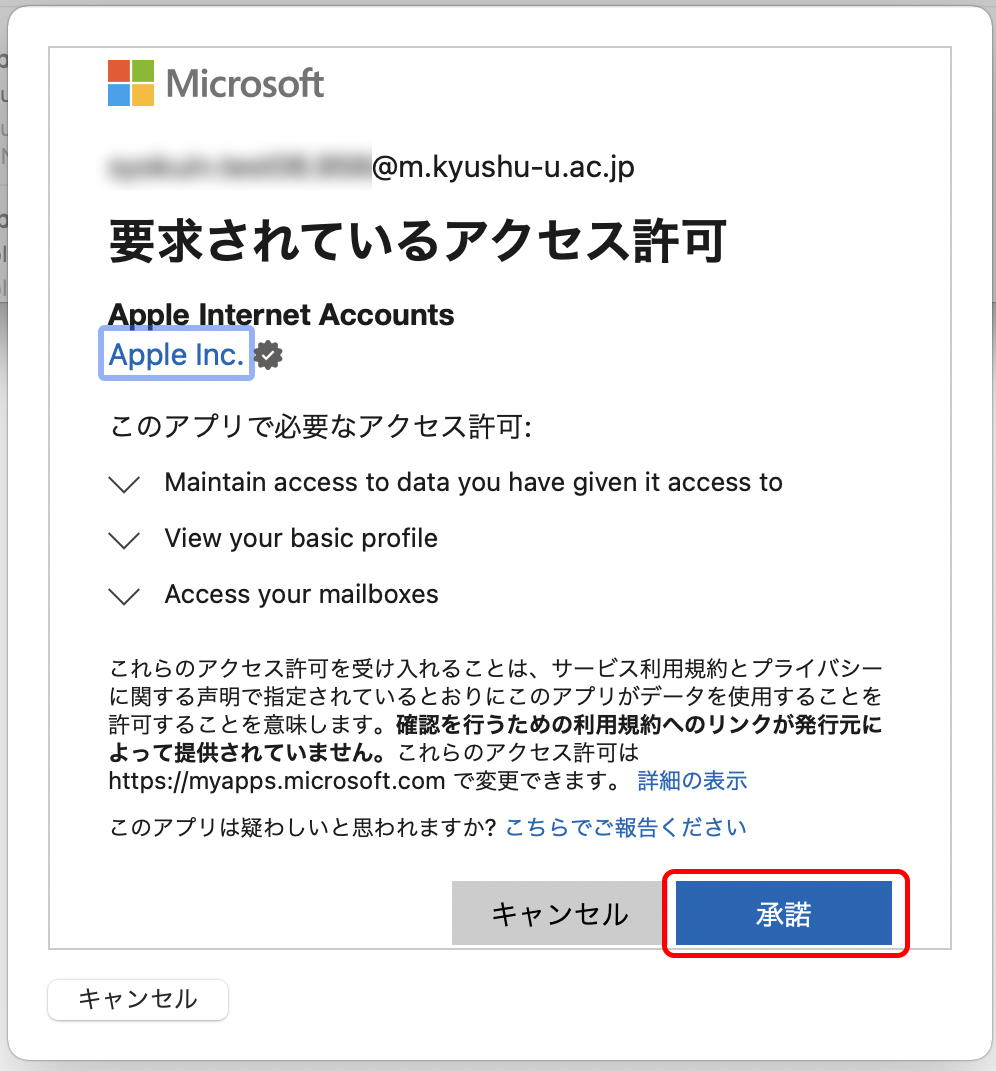
- You might be requested to approve the Mail app to access your mailboxes and profile. Click “Accept”.
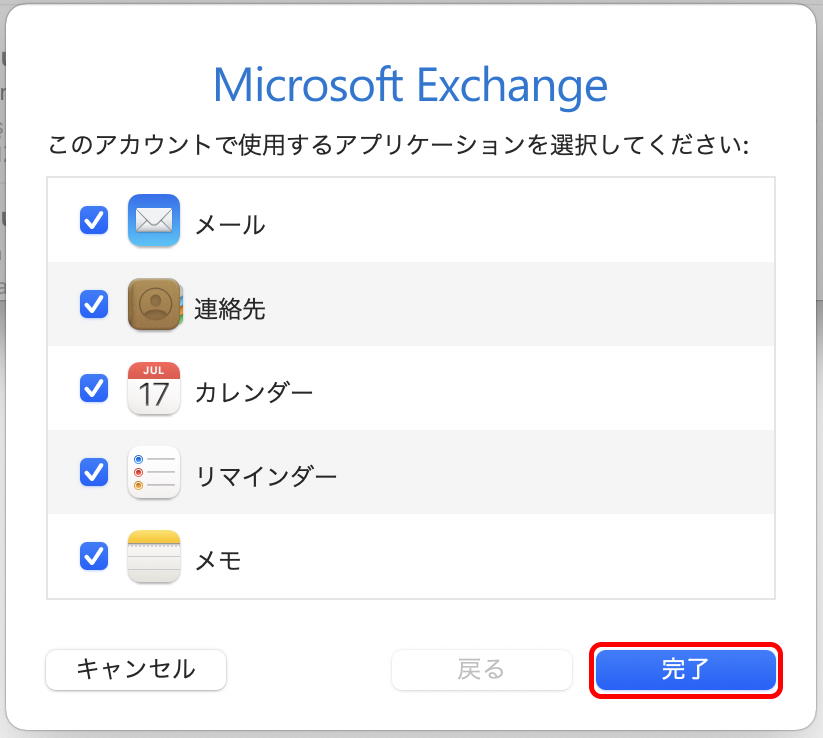
- Select applications you want to synchronize data with your account, and click “Done”. These application data will be shared with your other Office applications via Exchange Online.
Configure SMTP server for changing your sender address
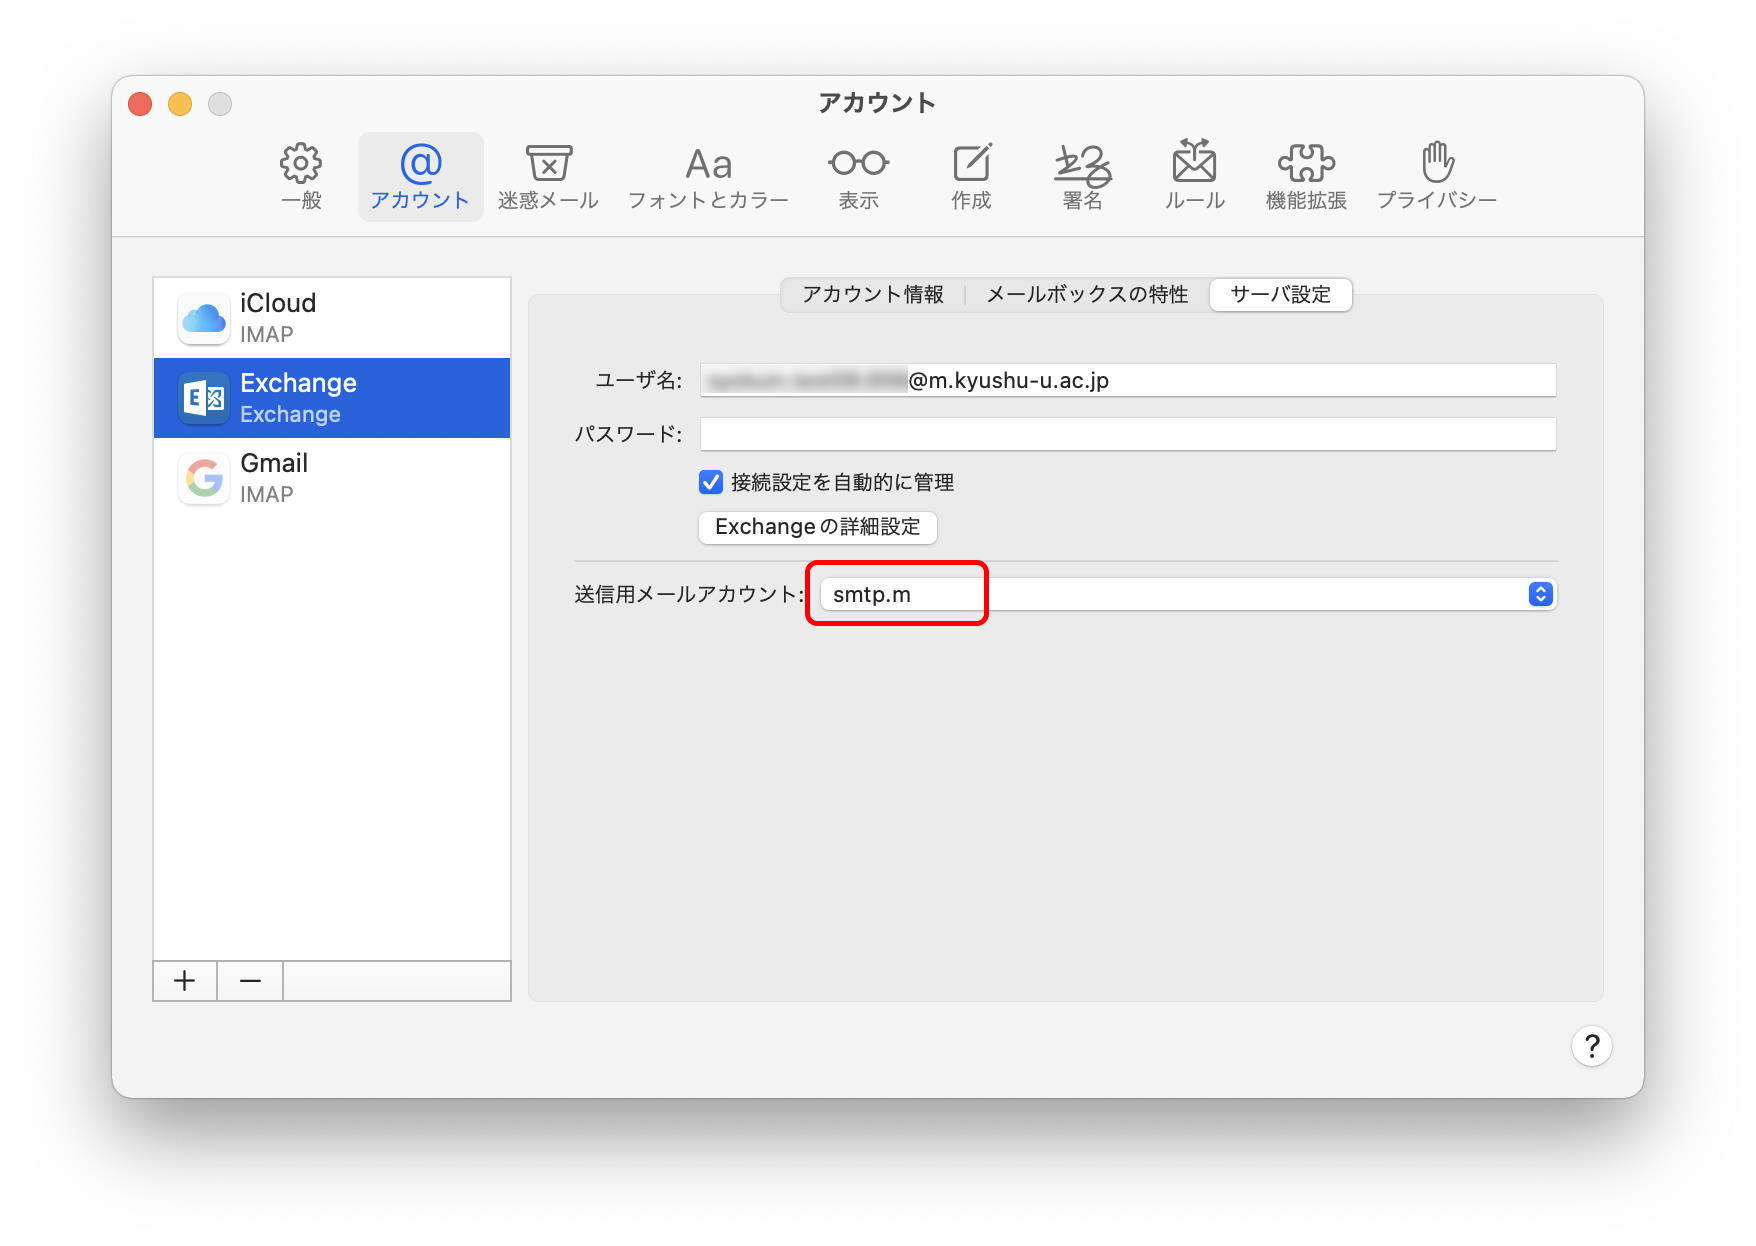
The Exchange protocol supports both receiving and sending messages, and Exchange server doesn’t allow users to change their sender address from the primary mail address. macOS Mail.app does support adding another SMTP server to send a message. You can use smtp.m.kyushu-u.ac.jp to change your sender address even with an Exchange account.
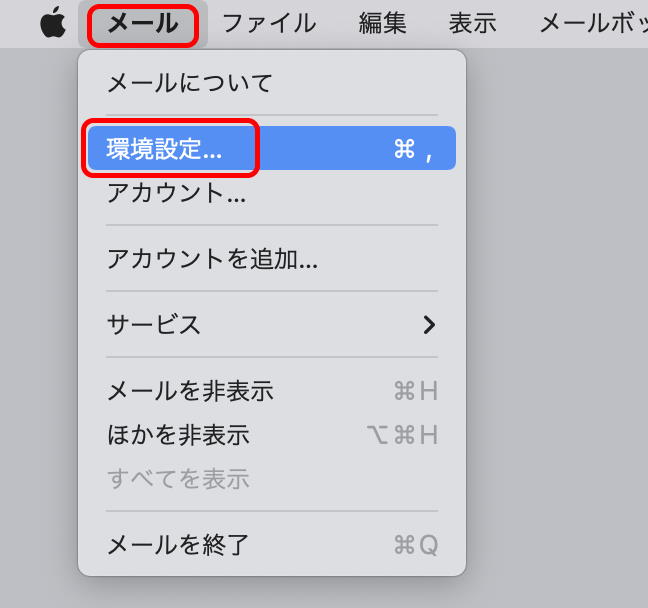
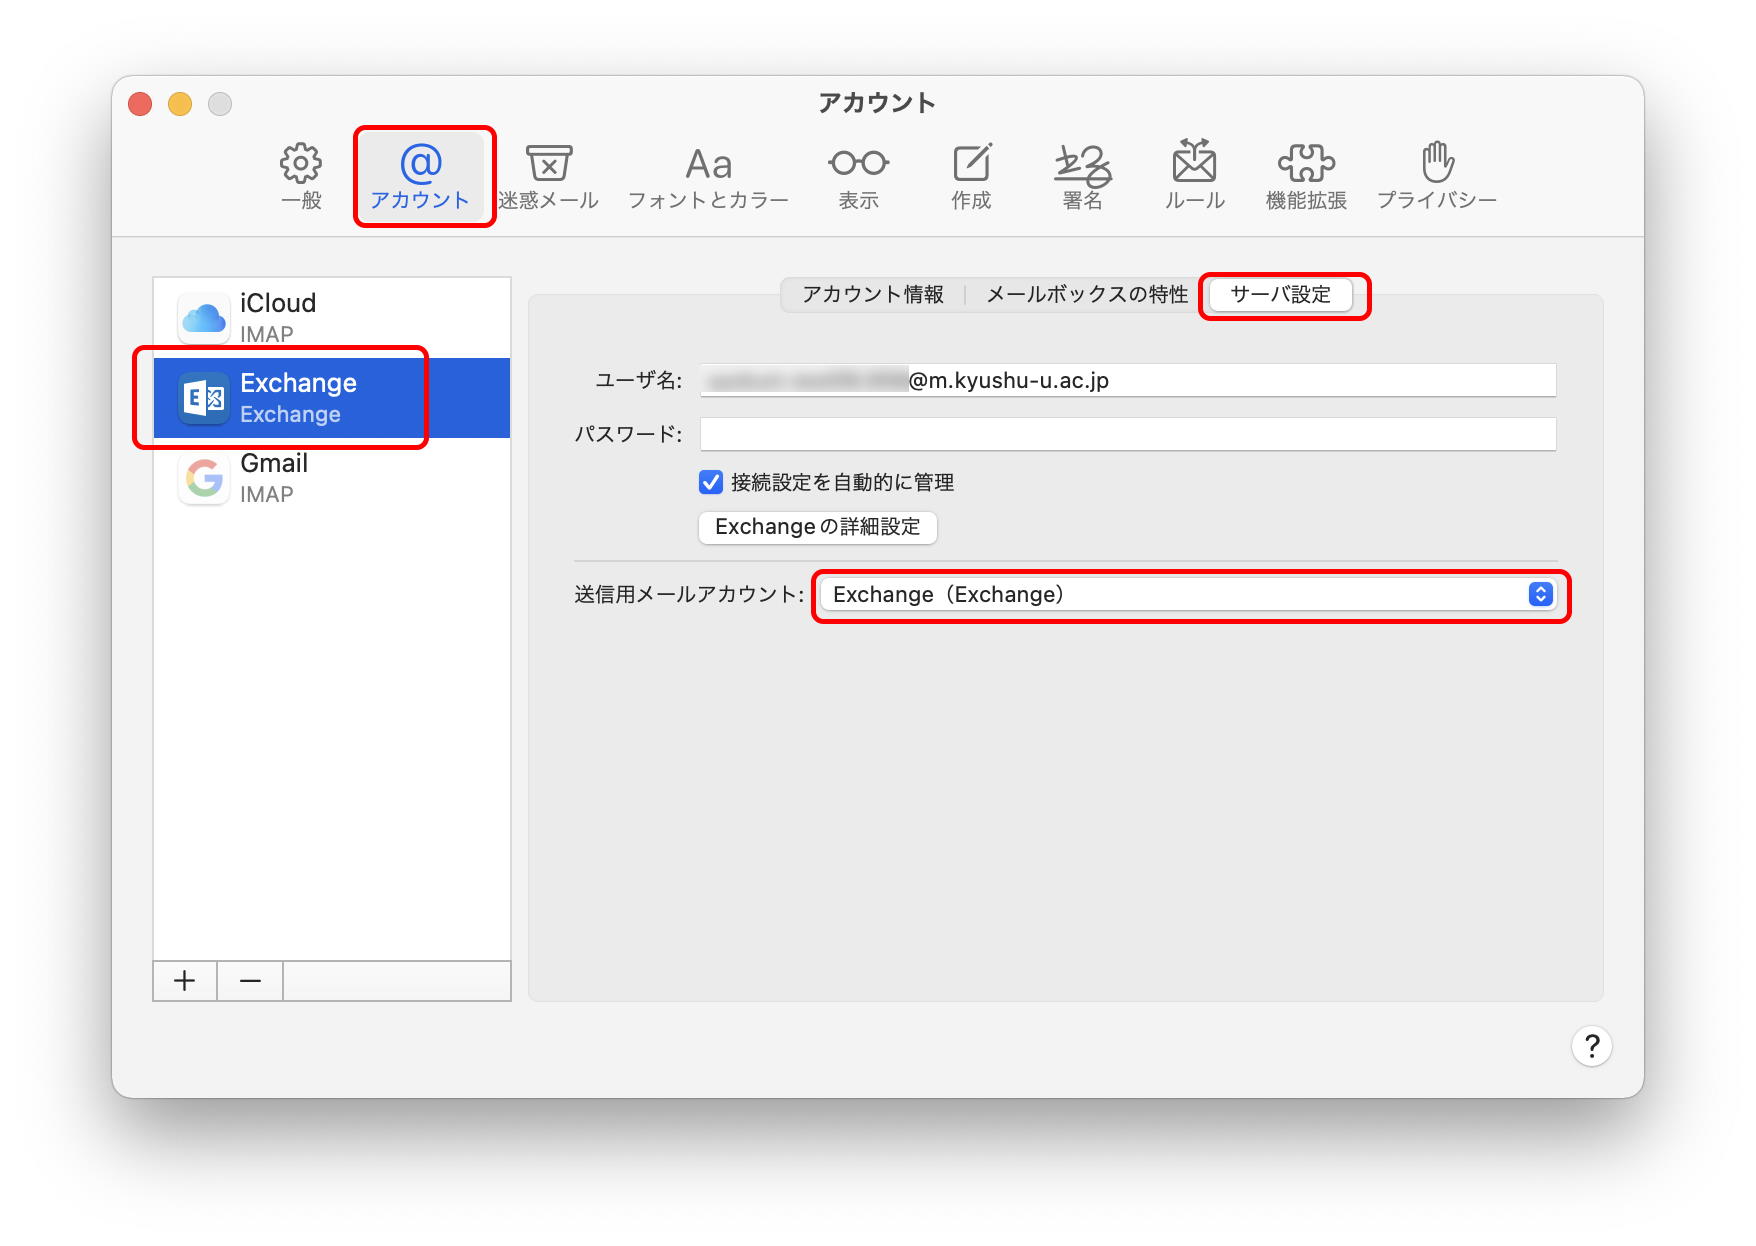
- Click “Mail” > “Preferences”.
- Click “Accounts” and select your Exchange account for Primary Mail Service. Click “Server Settings”, then click the outgoing Account pop-up menu.
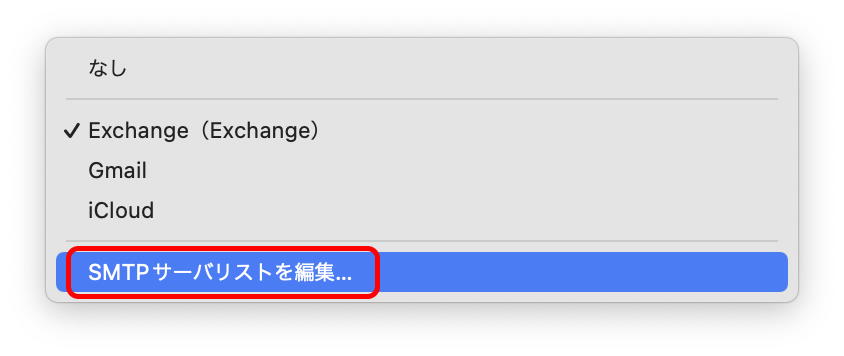
- Choose “Edit SMTP Server List”.
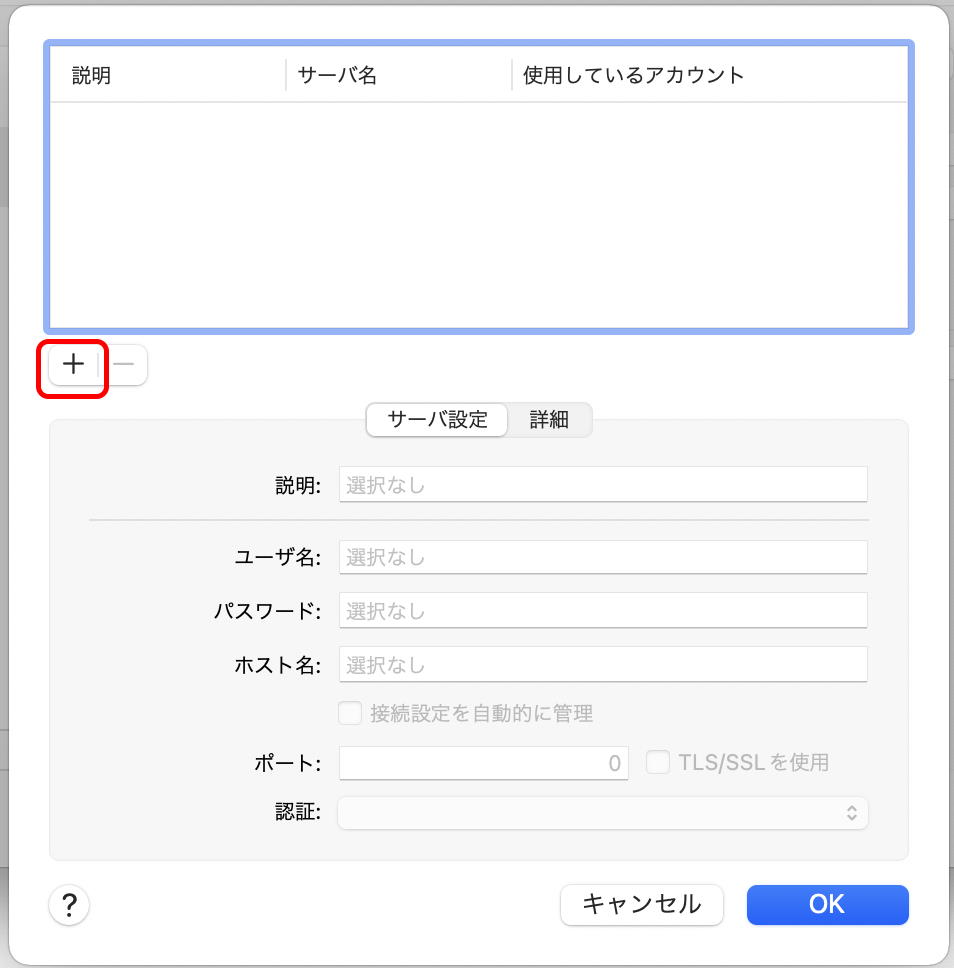
- Click “+” (plus sign).
- Remove the check mark of “Automatically manage connection settings” in “Server Settings”, enter the following information, and click “OK”.
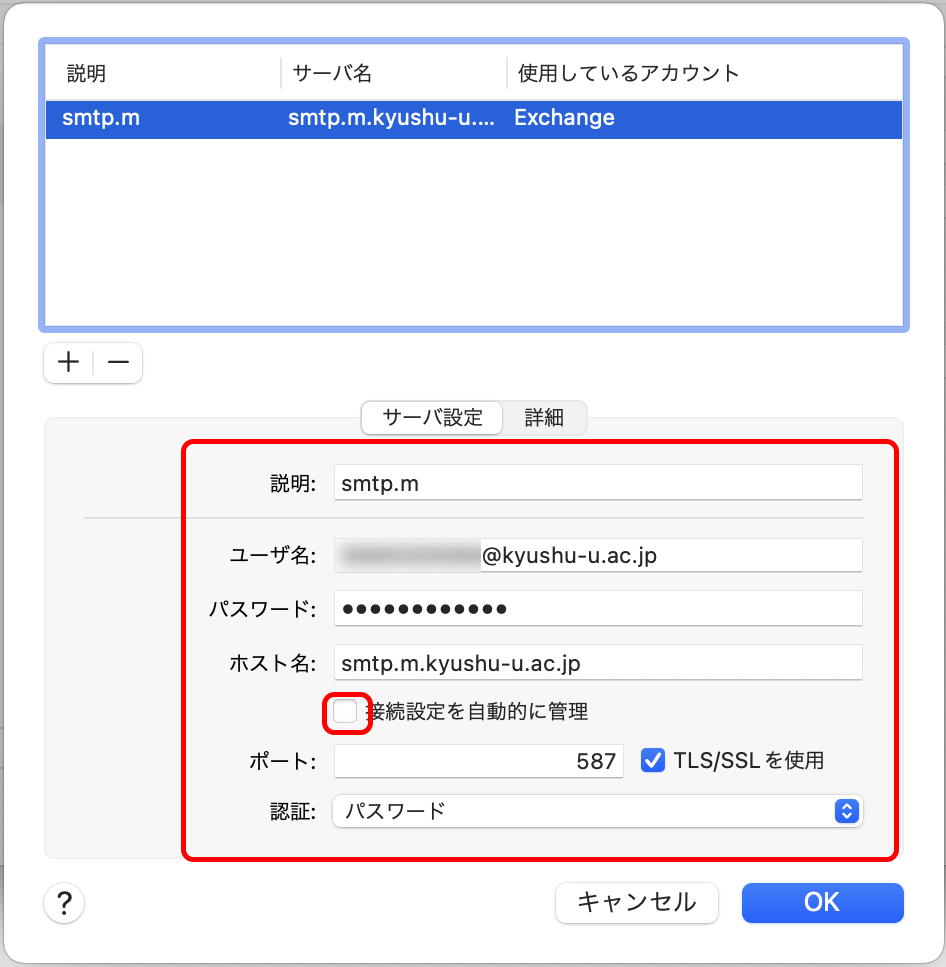
Item name Item value Description Anything distinguishable from other entries User Name (Your SSO-KID)@kyushu-u.ac.jp Password password of your SSO-KID Host Name smtp.m.kyushu-u.ac.jp Port 587 Use TLS/SSL Check Authentication Select “Password” - Select that entry you have just created in the outgoing Account pop-up menu and close the Preference window. Send a test message to make sure that the SMTP server configuration is correct. If you want to revert back to the Exchange default sending method, select “Exchange” here.