Microsoft Authenticator
-
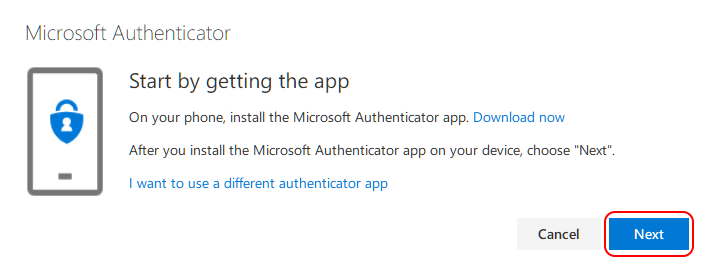
Download and install Microsoft Authenticator from Google Play for Android devices or from the App Store for iOS devices. You can also install it by visiting https://aka.ms/getMicrosoftAuthenticator on the browser of your smartphone or another device.
-
(On a PC) Click “Next."
-
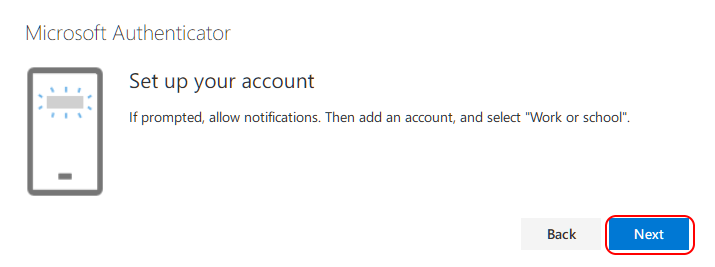
Click “Next."
-
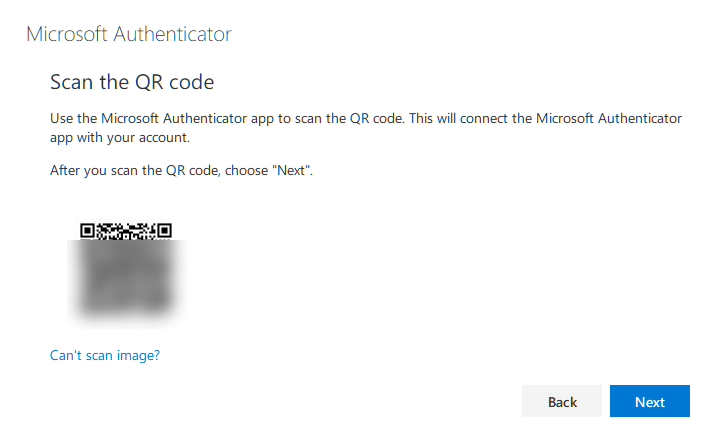
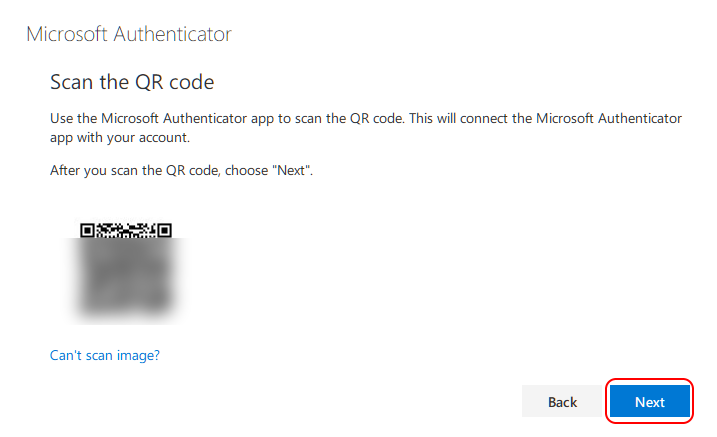
The QR code will be displayed.
-
(On a smartphone or tablet) Open the “Microsoft Authenticator” installed on your smartphone or another device.

-
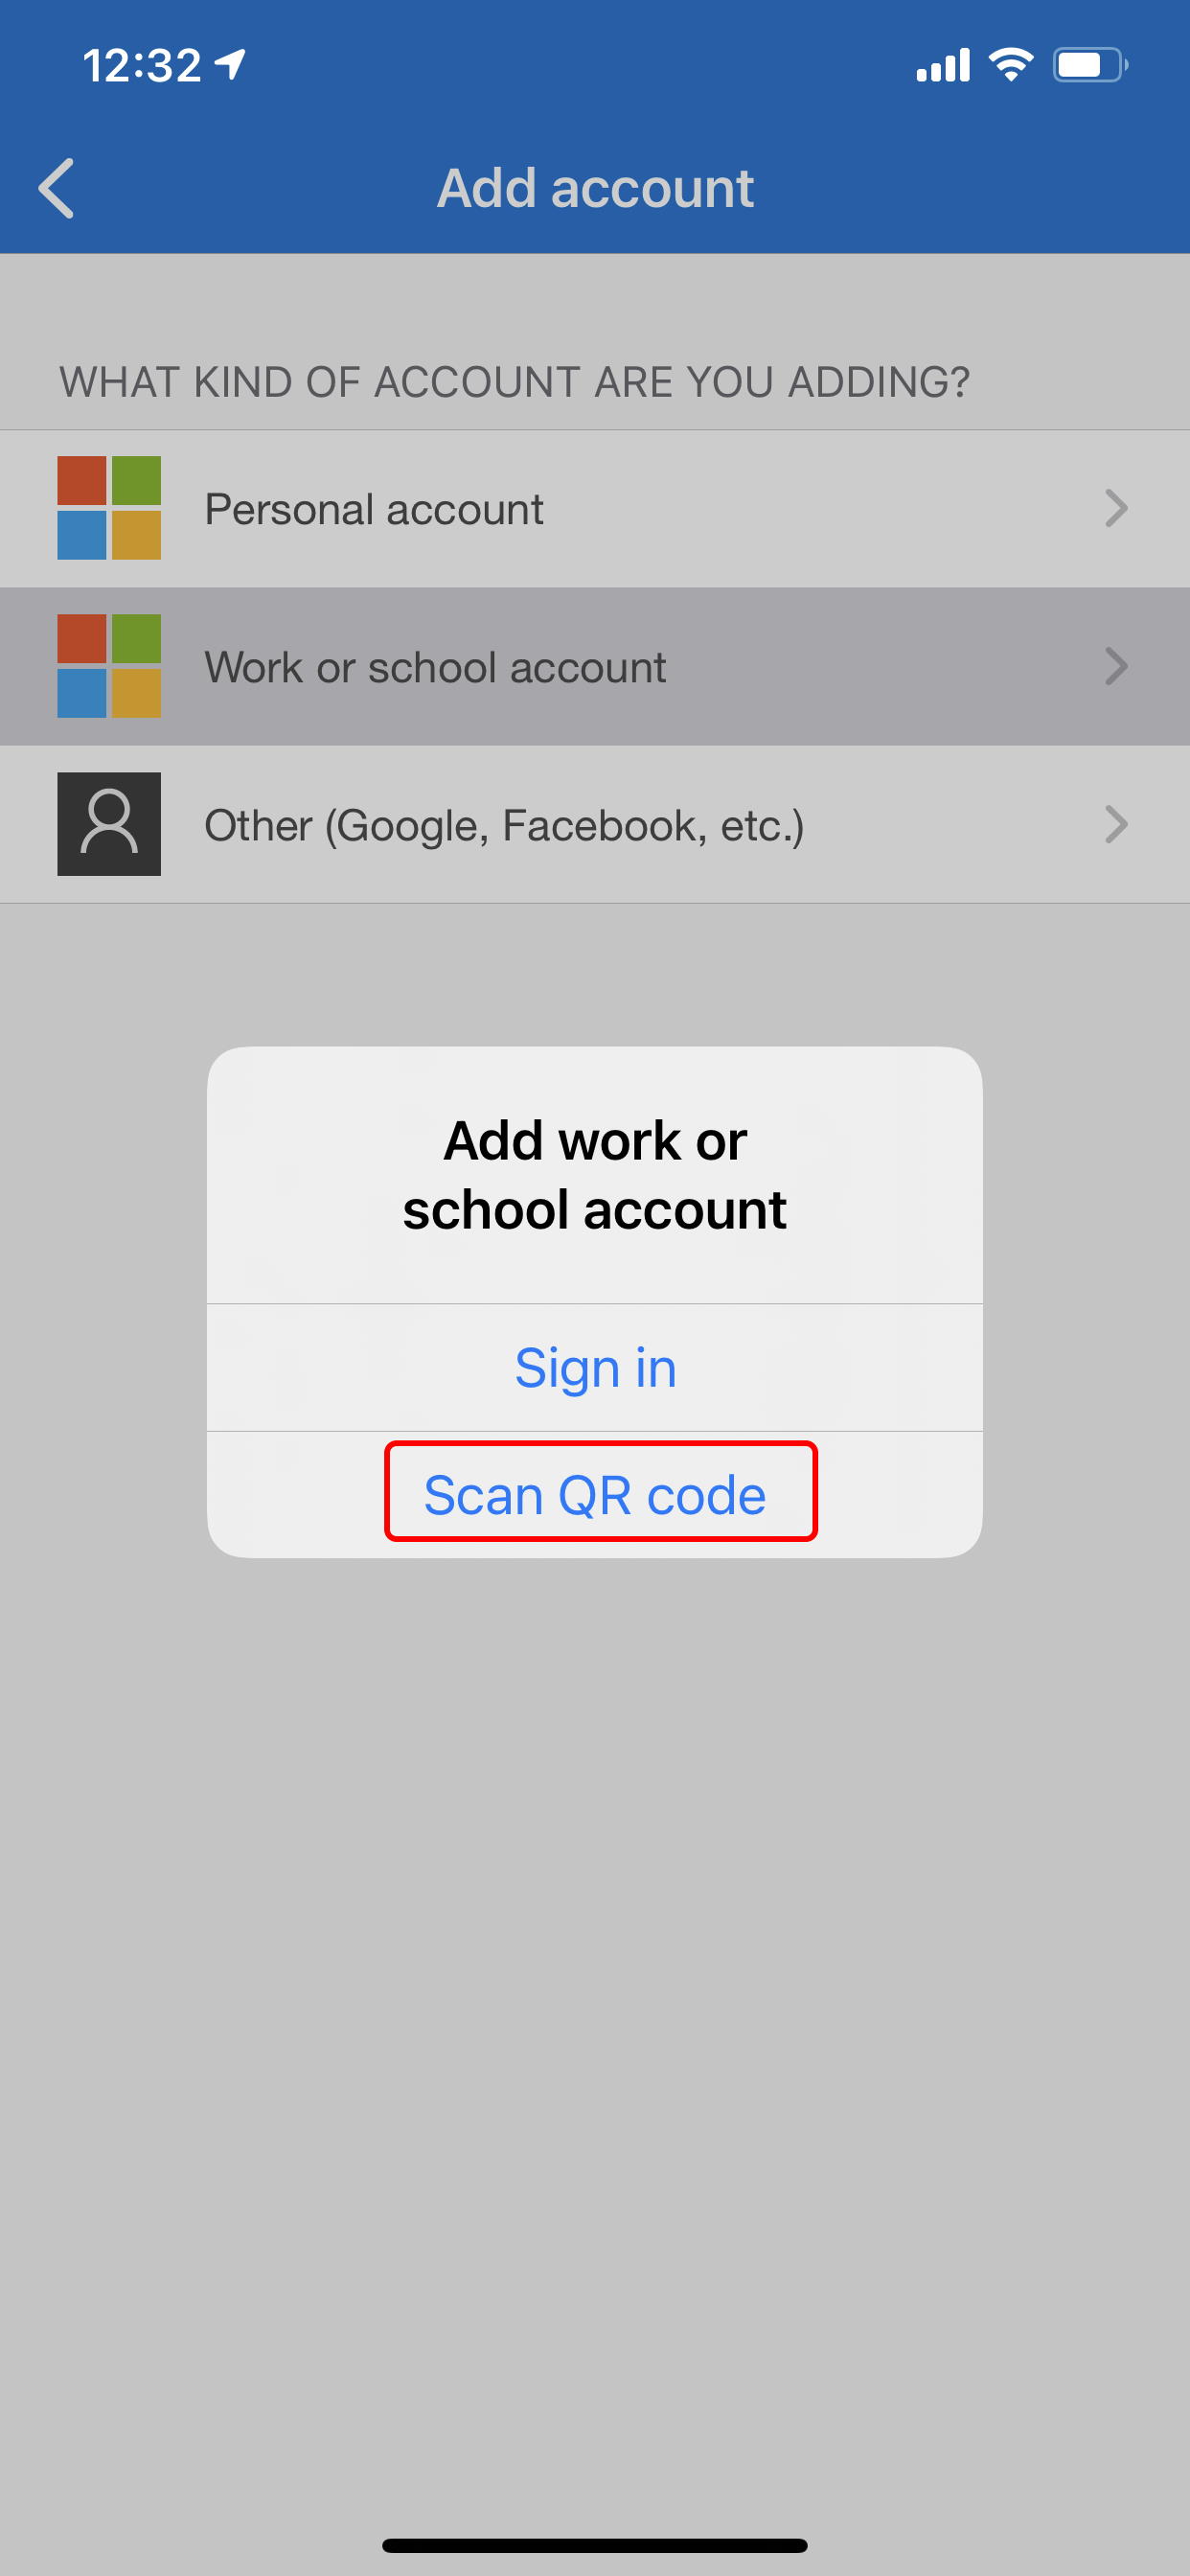
Tap “I agree”, then tap “Scan QR code.” If you are asked for camera access and sending notification, allow them. If you had opened the app before, please read 12. below to open “Scan QR Code” screen.


-
When the “Scan QR Code” screen appears, scan the QR code from Step 4 displayed on your computer’s browser and your account will be registered. The registration procedure is not finished yet. You need to test the app as follows.


-
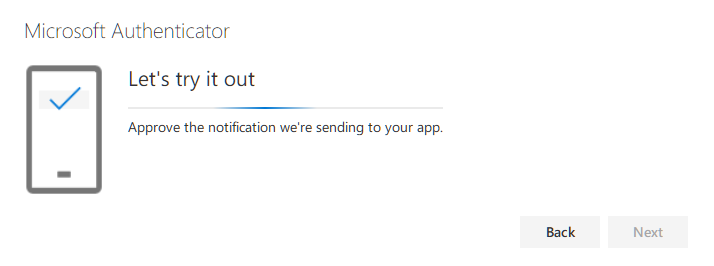
(On a PC) Click “Next.” You will be sent a notification to test your account.
-
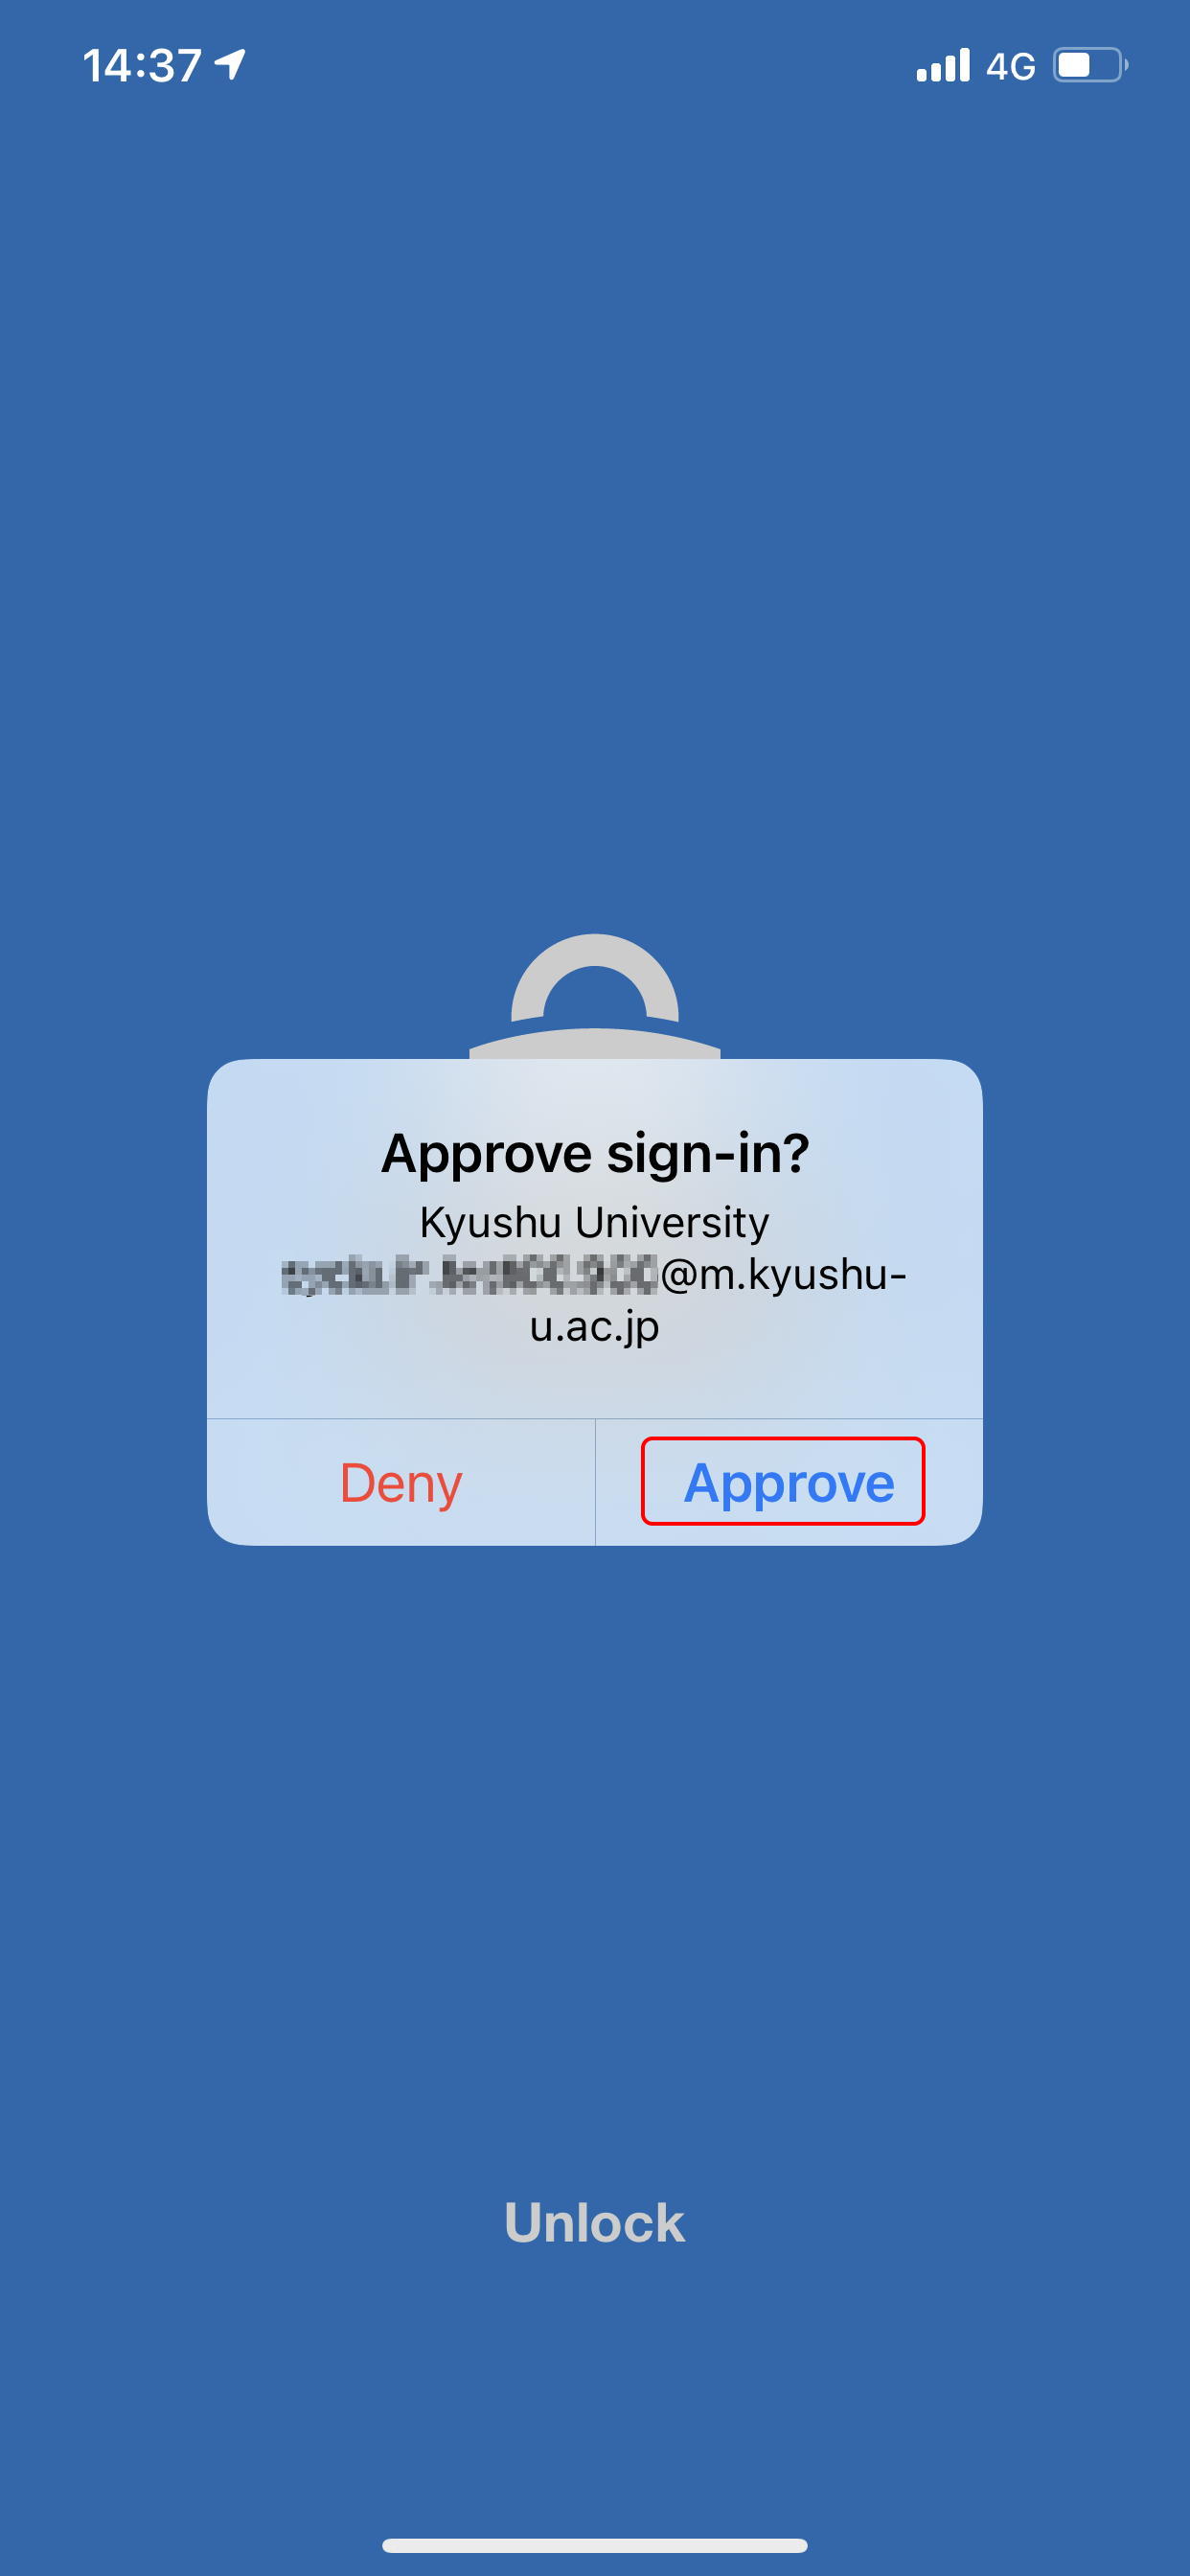
(On a smartphone or tablet) Tap “Approve” when “Microsoft Authenticator” asks for approval. You may be required to authenticate using a passcode, Face ID, Touch ID, etc.
-
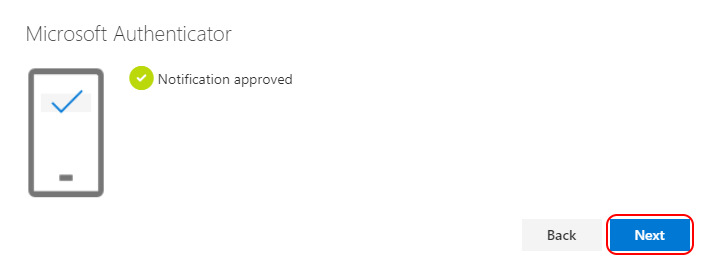
(On a PC) You will see a screen confirming your approval. Click “Next."
-
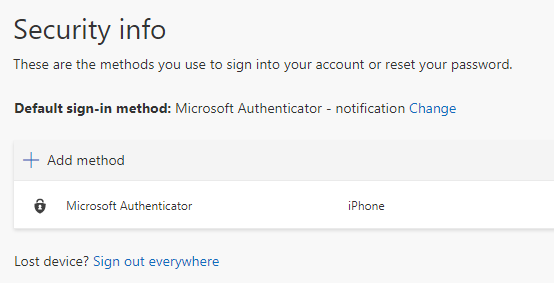
Microsoft Authenticator” will be registered in the list of security information.
-
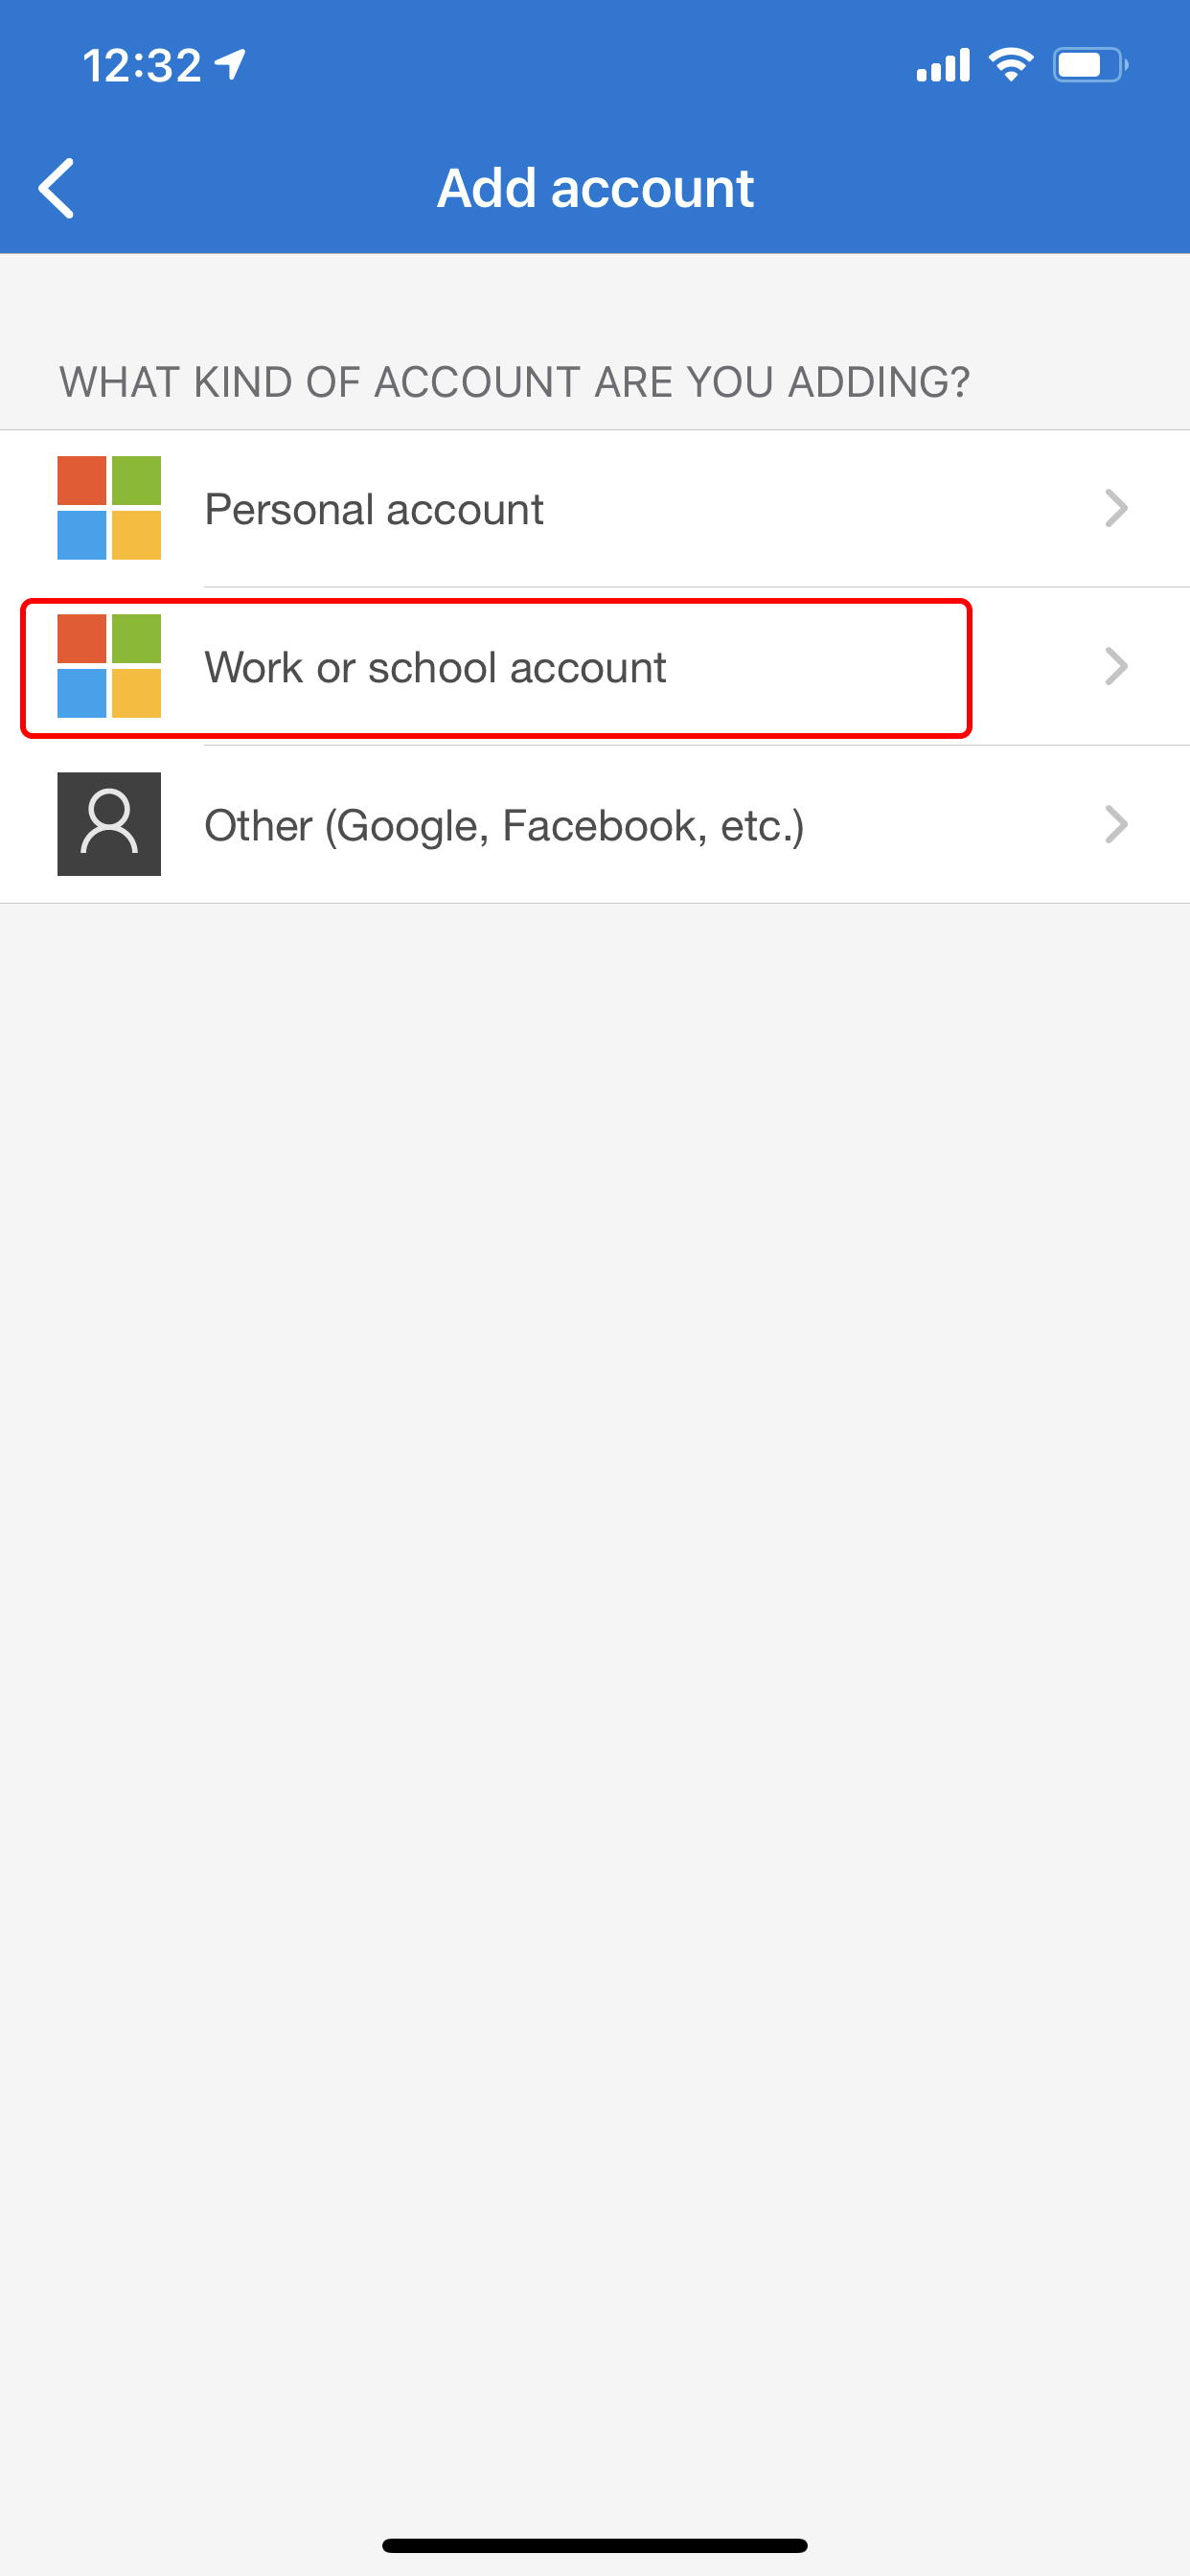
When you want to start over and read a QR code again, you need to tap “Add account” in the middle of the app screen or the icon on the top-right corner, select “Work or school account”, and “Scan QR code” to scan a QR code.


-
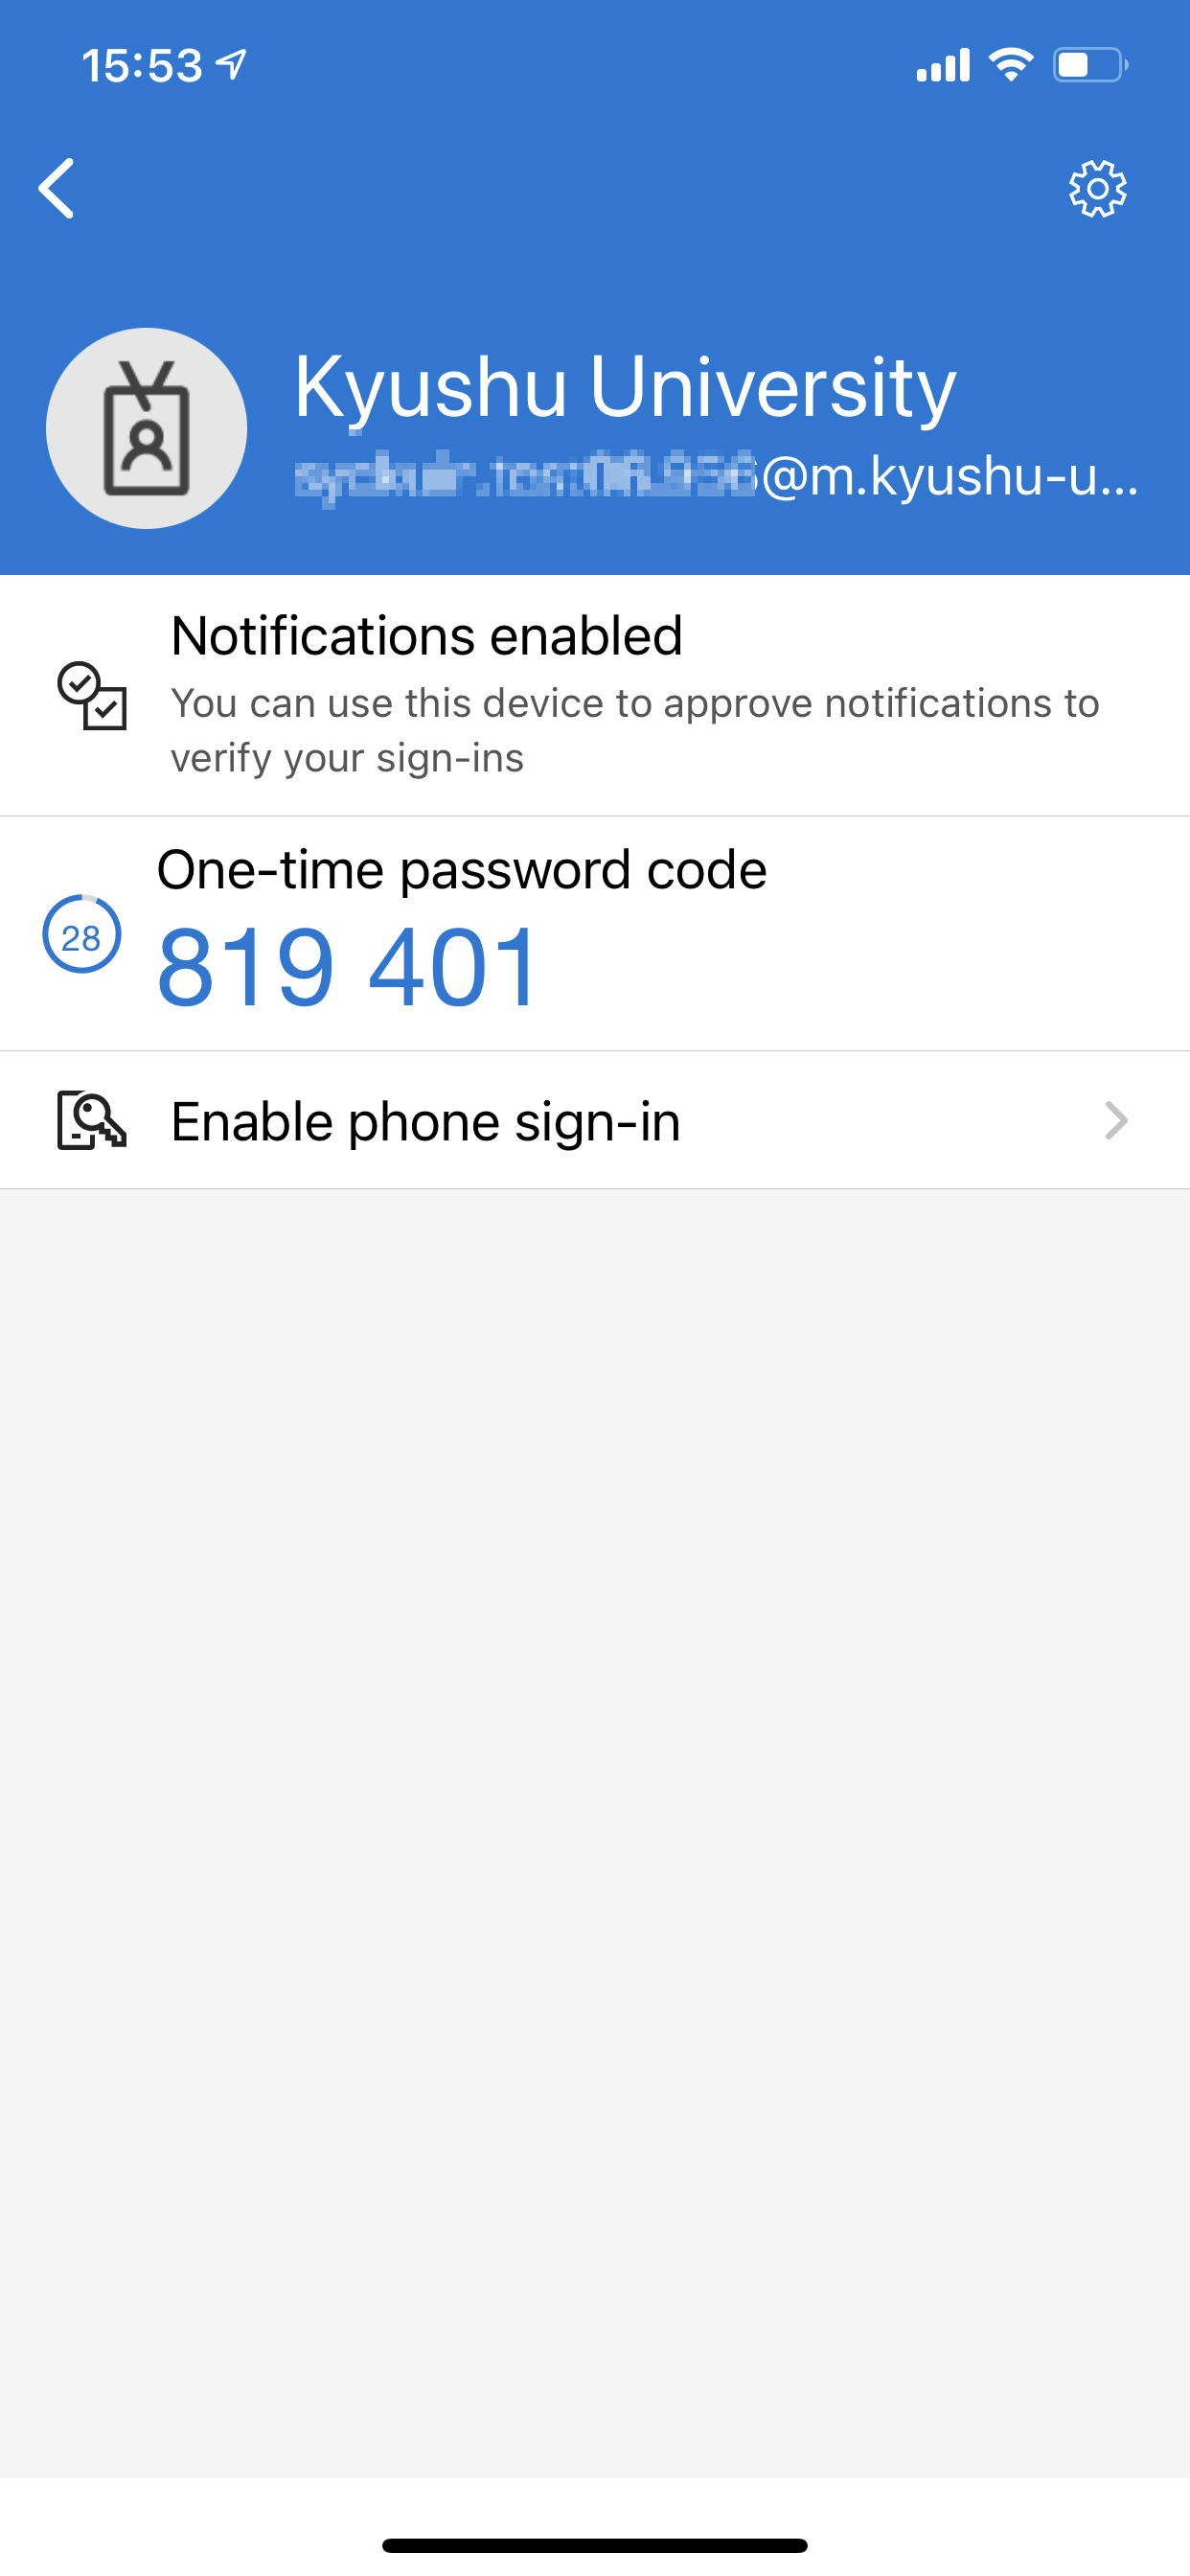
(Note) You can display the 6-digit one-time password code by tapping the item in the list of accounts registered in the app. If you don’t get a notification when you sign in, you can use it in “Sign in another way."