Set Up MFA Information with Authenticator App (PC)
This page explains how to register a browser extension or a desktop authenticator app as your MFA information.
Step 1: Preparation
■ Use a Browser Extension
Install the “Authenticator” browser extension using the link below:
※ How to install the browser extension
Step 2: Registration
* This guide uses Edge as an example, but the process is almost the same in Chrome and Firefox.
-
Open the following link in the browser where you installed the extension:
https://mysignins.microsoft.com/security-info -
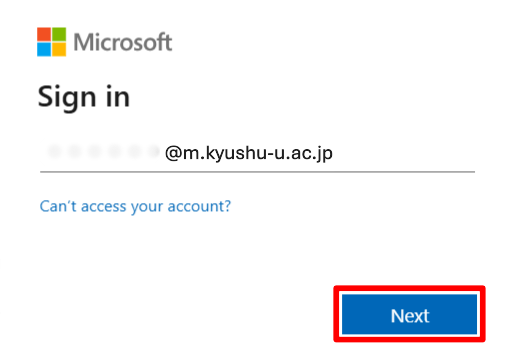
If the sign-in screen appears, enter your Kyushu University primary email address (…..@m.kyushu-u.ac.jp) and click “Next.”
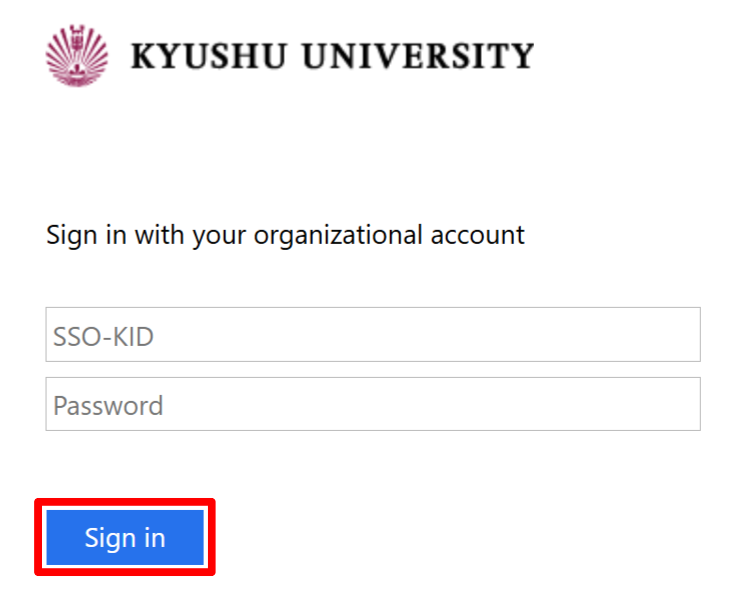
Then, enter your SSO-KID and password, and click “Sign in.”
-
The next steps depend on the screen displayed.
-
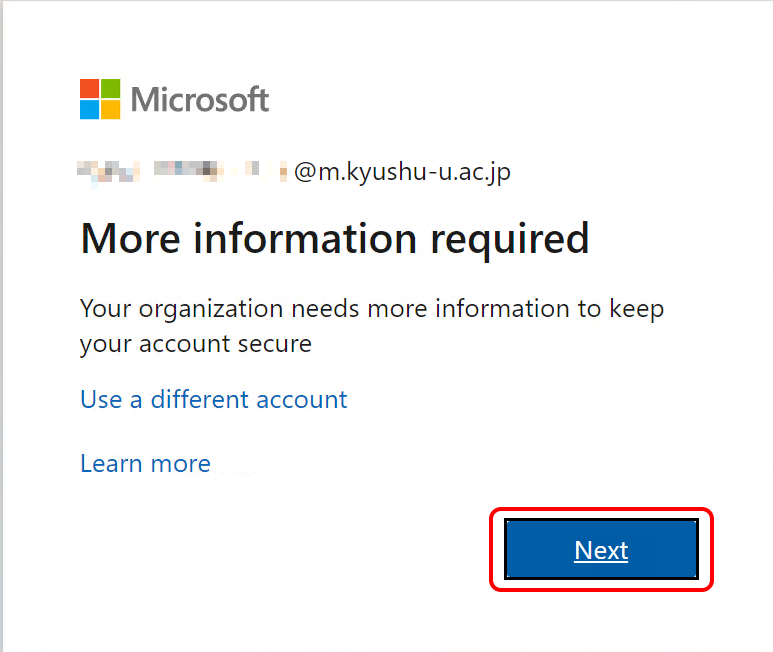
If the screen shows “Let’s keep your account secure”, Click “Next”.
-
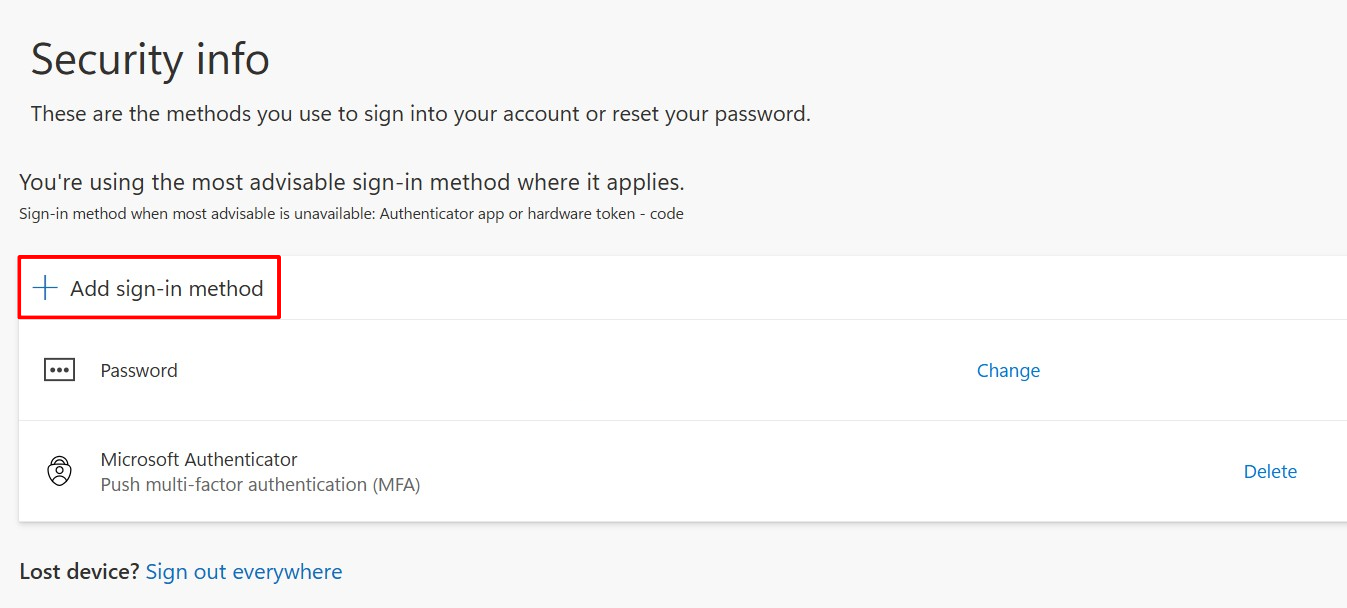
If the “Security info” screen appears, Click “Add sign-in method”, then choose “Microsoft Authenticator”.
-
-
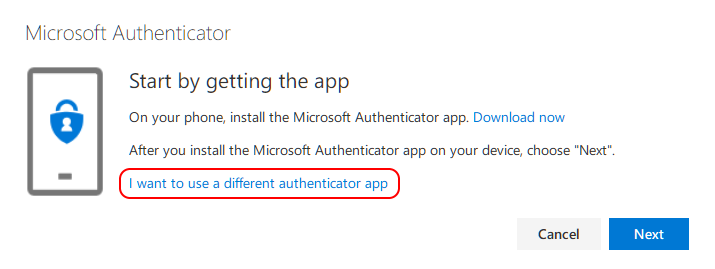
Click “Set up a different authentication app."
-
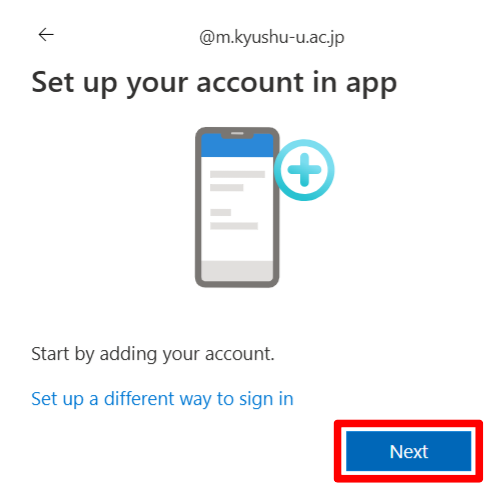
Click “Next."
-
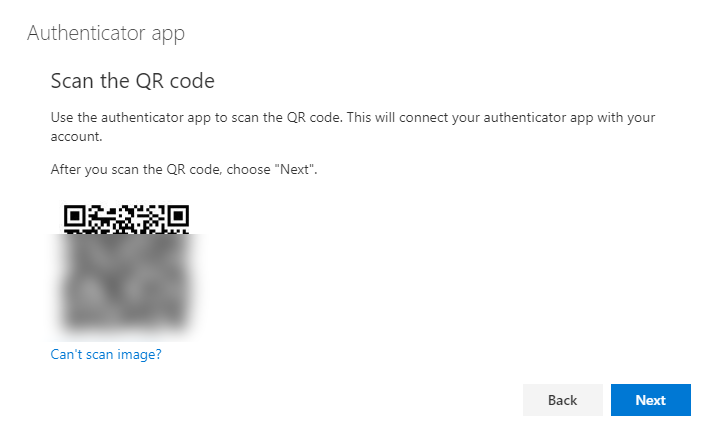
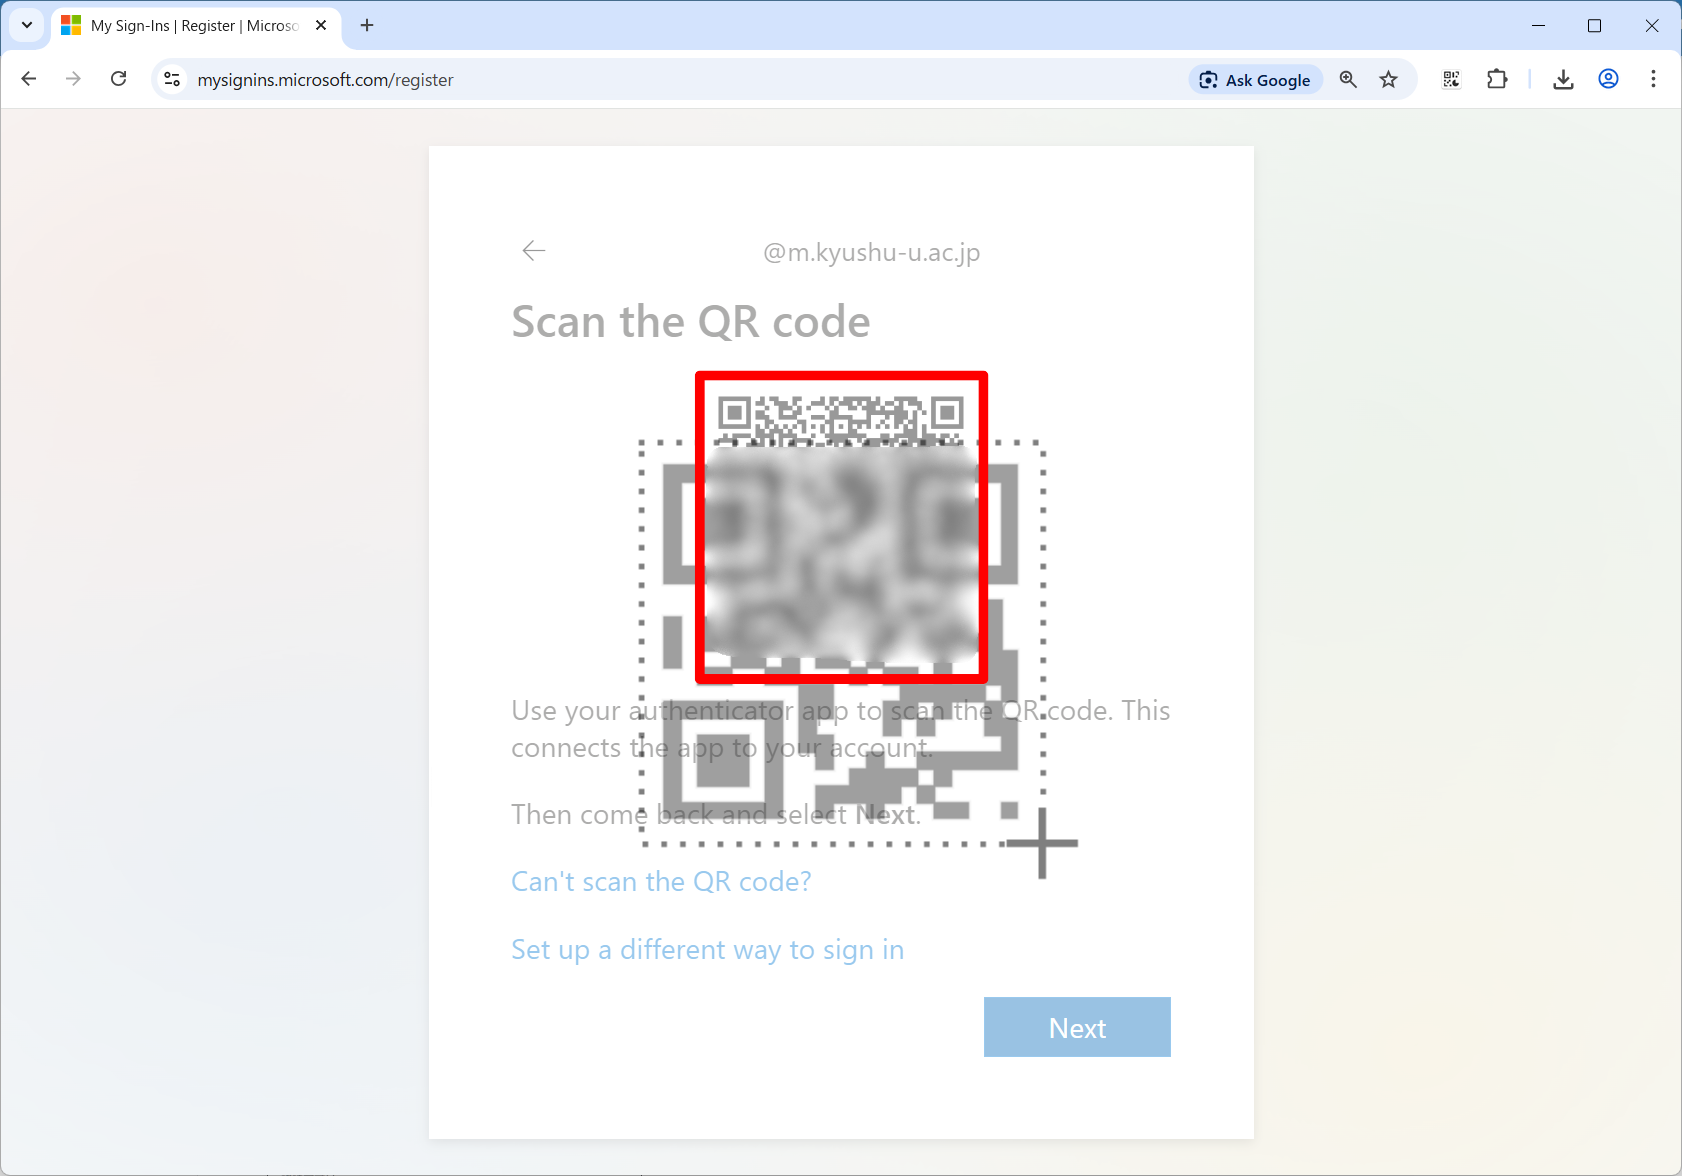
The QR code will be displayed.
-
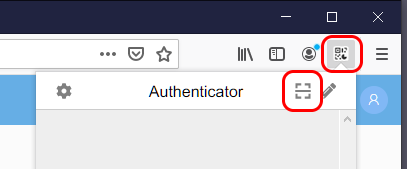
Open the “Authenticator” in the browser where the QR code is displayed, and click the QR code scan icon.
-
You will be in scan mode, so drag it to enclose the QR code.
-
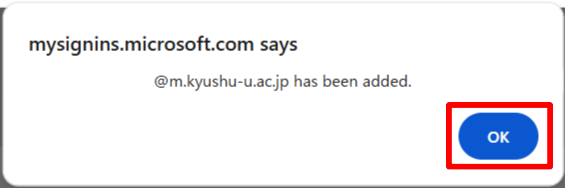
If the code is recognized, a confirmation message will be displayed. Click “OK”.
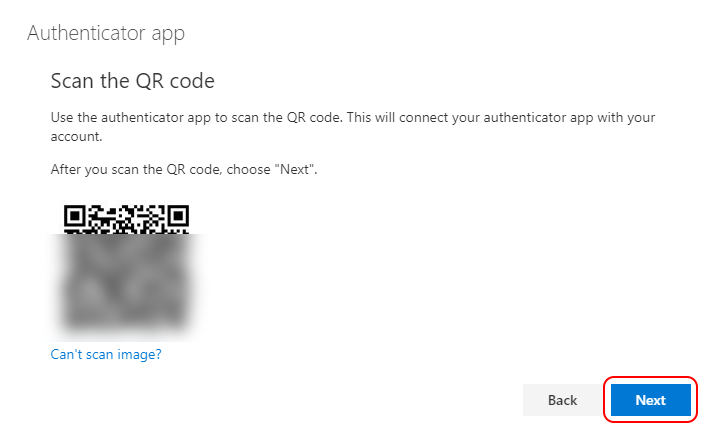
If you see a QR code recognition error, click the “Back” button and then the “Next” button to display a new QR code, and scan it again.
-
Click “Next."
-
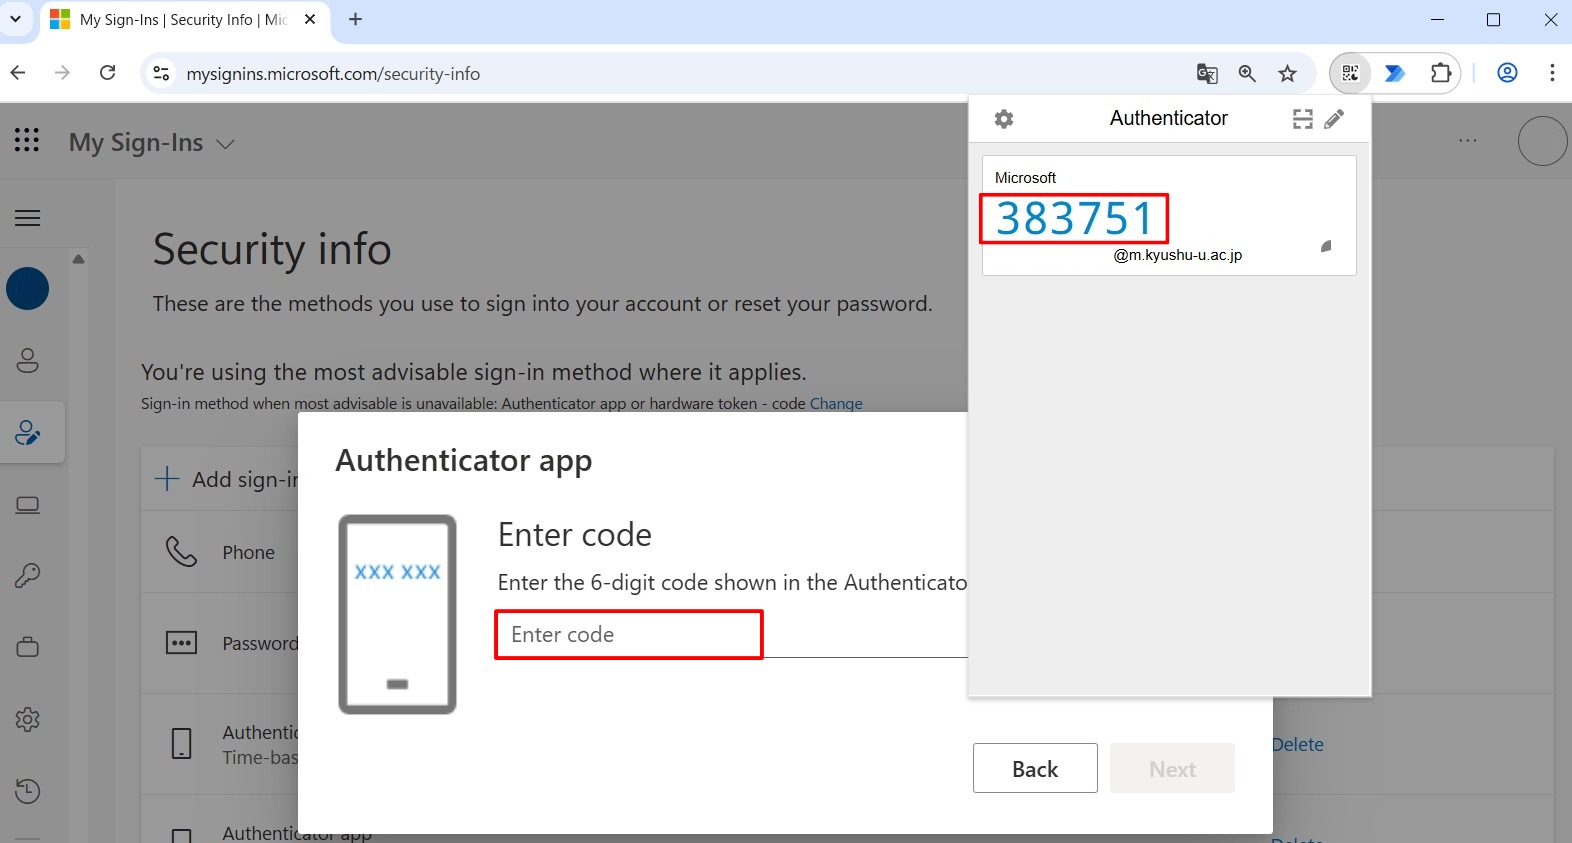
When you open the “Authenticator”, a 6-digit one-time code will appear. Type it into the “Enter Code” field and click “Next”.
-
When the following screen appears, the registration is complete. Click “Done.”
